# Creating W10 client - WS01

## General machine info

* Machine Name: `WS01`
* IP Adress: `DHCP`
* Subnetmask: `DHCP`
* Gateway: `DHCP`
* DNS: `DHCP`
* Role: Workstation for end users
* Domain: `amsterdam.bank.local`

## Installation after sysprep

1. Startup the machine
2. When asked if you copied the Virtual Machine, select "I Copied It"

<div align="left"><img src="https://1033393870-files.gitbook.io/~/files/v0/b/gitbook-x-prod.appspot.com/o/spaces%2FPqGbN7FCY7Xh4OkOtvin%2Fuploads%2Fgit-blob-d15be660733010b1d5bdc6ac8929e009751bfd08%2Fafbeelding%20(103)%20(2)%20(3).png?alt=media" alt=""></div>

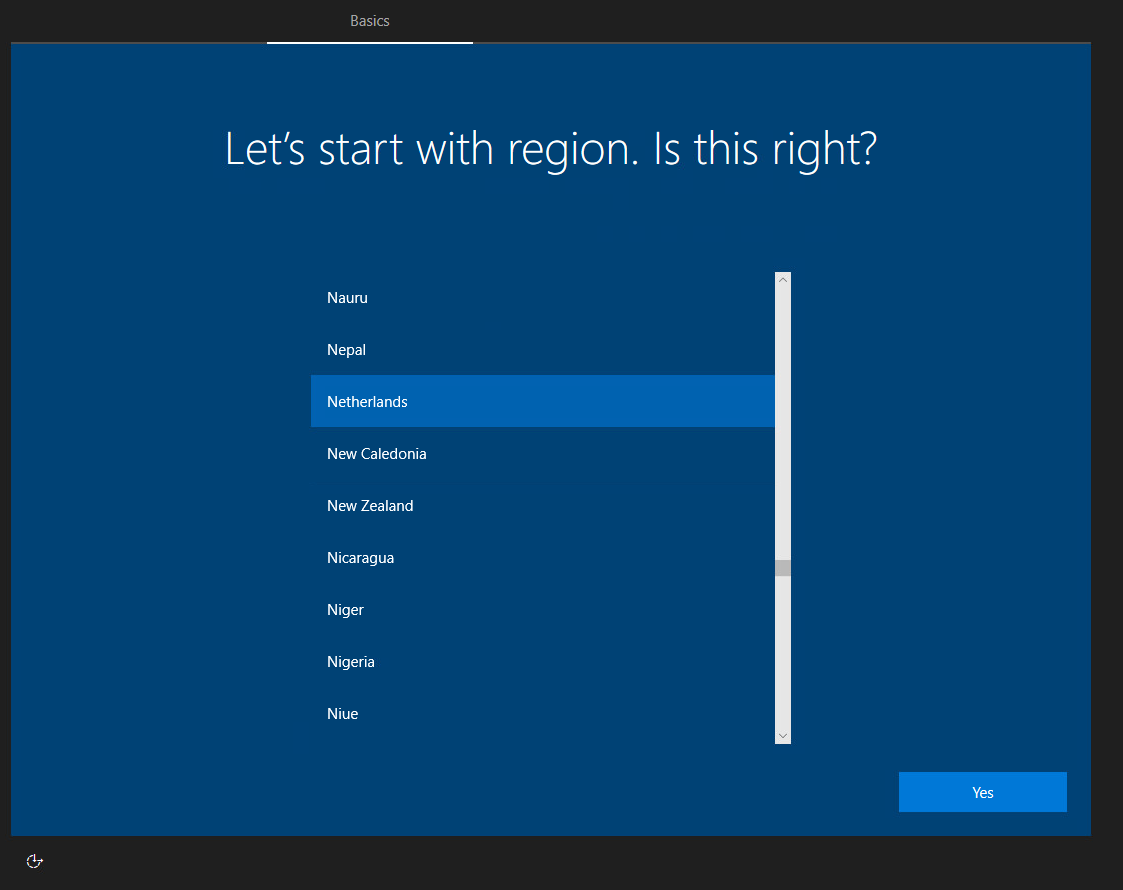
3\. Choose your region, in our example "Netherlands" and click "Yes"

<div align="left"><img src="https://1033393870-files.gitbook.io/~/files/v0/b/gitbook-x-prod.appspot.com/o/spaces%2FPqGbN7FCY7Xh4OkOtvin%2Fuploads%2Fgit-blob-de9e63fc46330ed172ae2cc80fd61872604e53d8%2Fafbeelding.png?alt=media" alt=""></div>

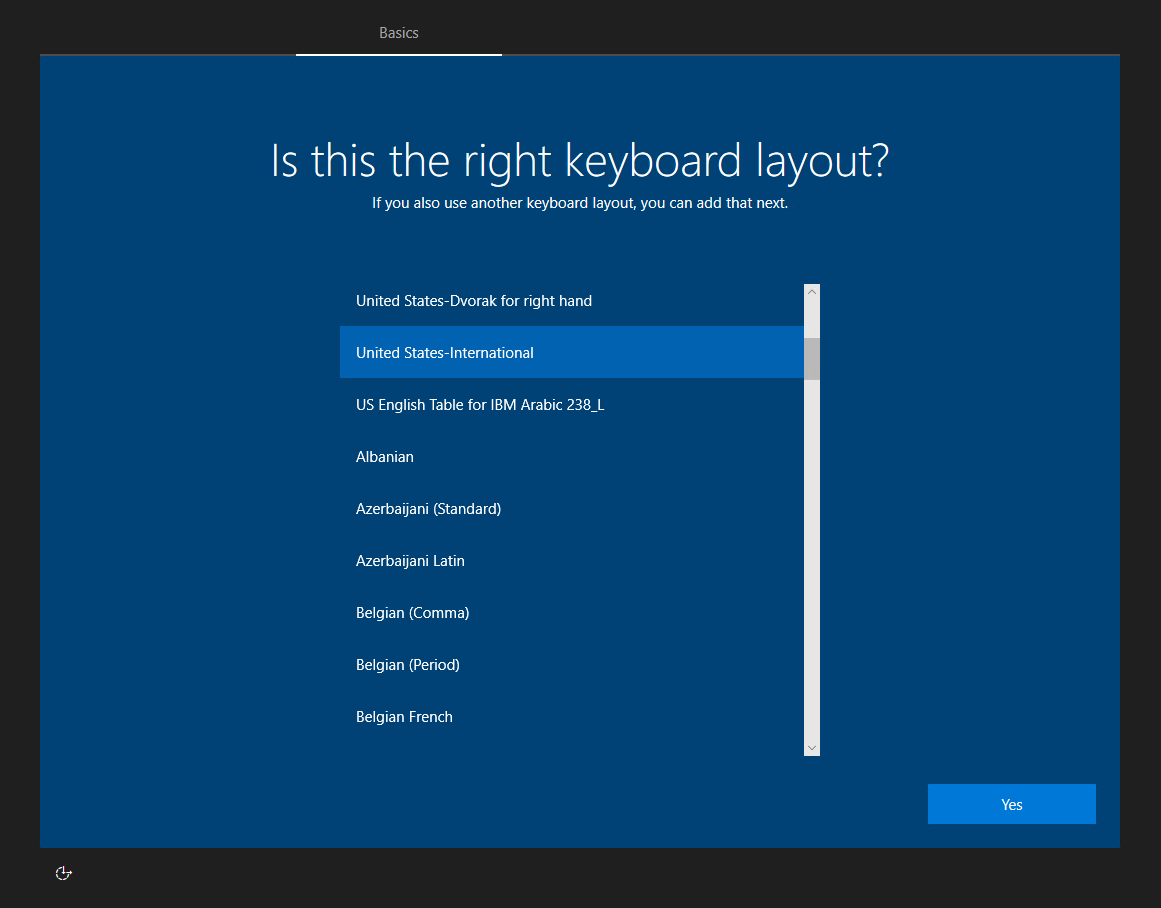
4\. Choose your keyboard layout, in our example "United States-International" and click "Yes"

<div align="left"><img src="https://1033393870-files.gitbook.io/~/files/v0/b/gitbook-x-prod.appspot.com/o/spaces%2FPqGbN7FCY7Xh4OkOtvin%2Fuploads%2Fgit-blob-b511c06e74de63ccd8d315b215ee8b35670fdec9%2Fafbeelding.png?alt=media" alt=""></div>

5\. On the second layout screen, click "Skip". After this our machine will do some basic configurations and updates.

6\. Once the Pop-up comes to agree with the Windows terms and conditions, click "Agreed".

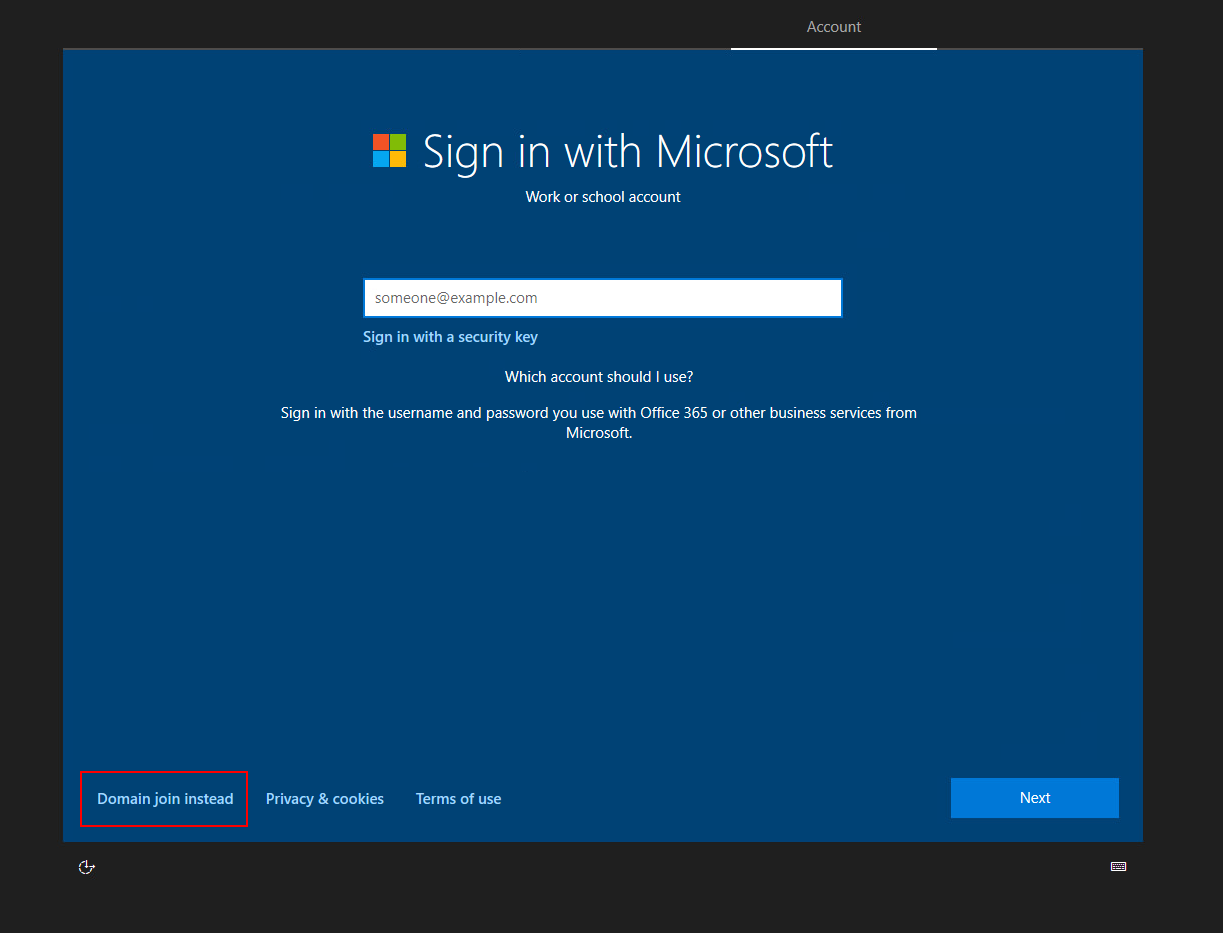
7\. Now we're asked to 'Sign in with Microsoft' account and we click on "Domain join instead".

<div align="left"><img src="https://1033393870-files.gitbook.io/~/files/v0/b/gitbook-x-prod.appspot.com/o/spaces%2FPqGbN7FCY7Xh4OkOtvin%2Fuploads%2Fgit-blob-9d63a10a8f27fc5347f417e5b146fffe6b08624f%2Fafbeelding.png?alt=media" alt=""></div>

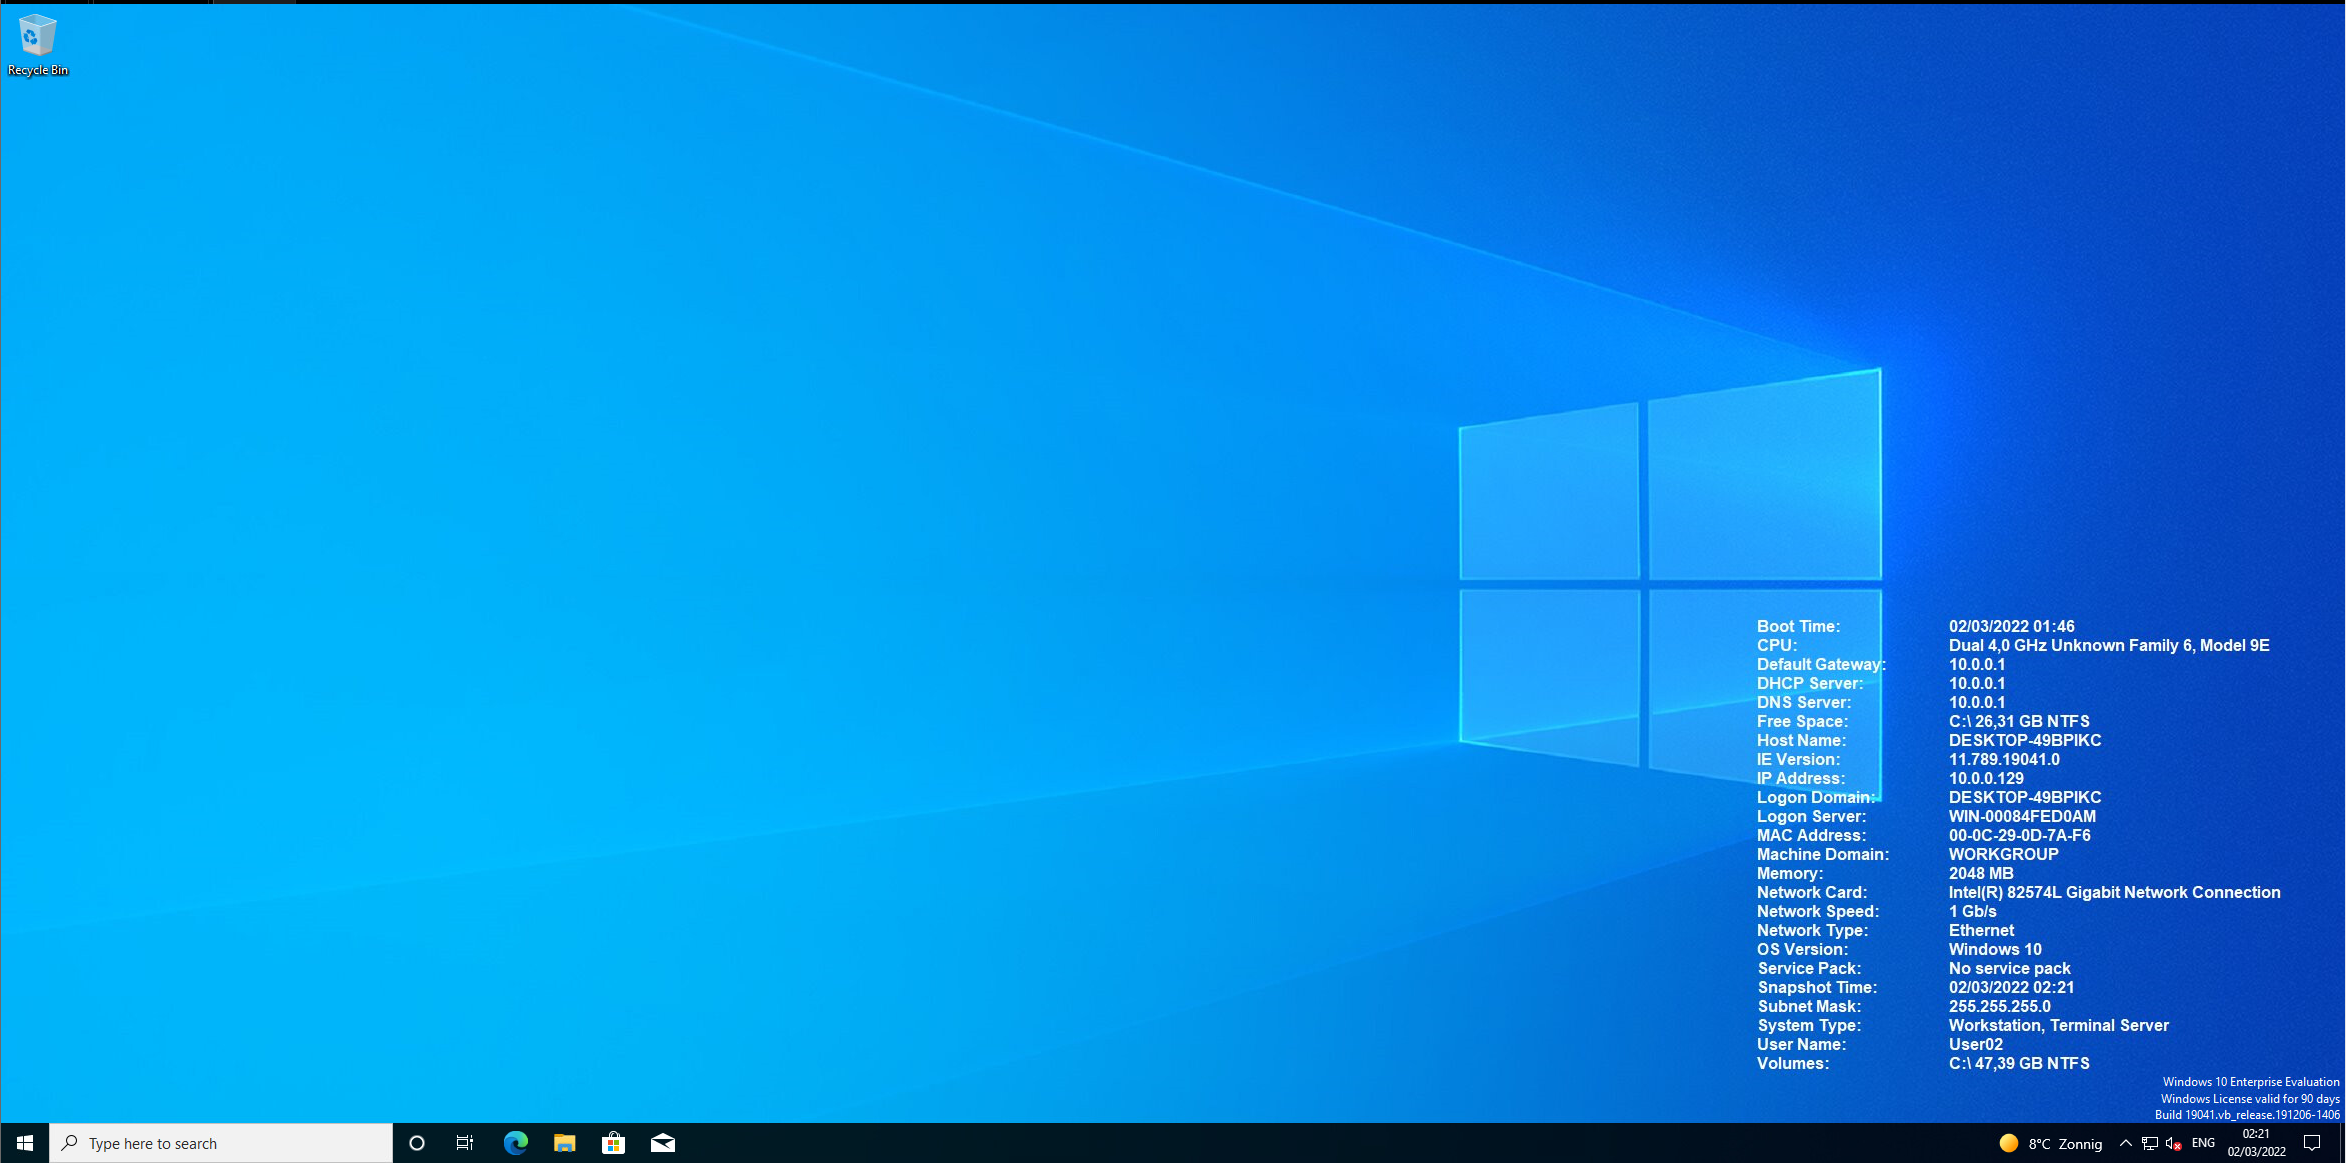
8\. Create an user-account with the password `Welcome01!`, because we already created the user-account "User", we need to create a second user. In our example we choose `User02`.

9\. Next they ask for some security questions, we fill in "A" because we will delete the account in a later stadium anyway.

10\. Choose the most privacy friendly options. We choose the following options: No, No, Send Required diagnostic data, No, No, No.

Now the machine will spin up and load our user-profile. After some minutes the machine is ready to use.

<div align="left"><img src="https://1033393870-files.gitbook.io/~/files/v0/b/gitbook-x-prod.appspot.com/o/spaces%2FPqGbN7FCY7Xh4OkOtvin%2Fuploads%2Fgit-blob-016a8d342dd8de7d13ec3783074b1ec4168f3e28%2Fafbeelding.png?alt=media" alt=""></div>

## Renaming

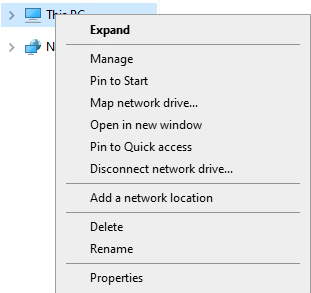
1. Open File Explorer --> right click "This PC" --> Properties

<div align="left"><img src="https://1033393870-files.gitbook.io/~/files/v0/b/gitbook-x-prod.appspot.com/o/spaces%2FPqGbN7FCY7Xh4OkOtvin%2Fuploads%2Fgit-blob-878750701574a515e496fadbe1256faf6785c632%2Fafbeelding%20(29)%20(2)%20(1).png?alt=media" alt=""></div>

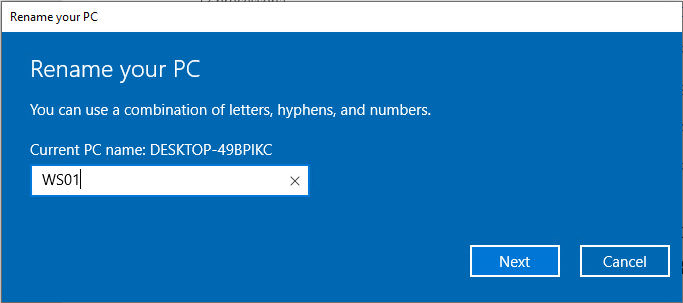
2\. Click on "Rename this PC"

![](https://1033393870-files.gitbook.io/~/files/v0/b/gitbook-x-prod.appspot.com/o/spaces%2FPqGbN7FCY7Xh4OkOtvin%2Fuploads%2Fgit-blob-e315cc0d1640f506e91f73aa2cda97bb0fe33668%2Fafbeelding.png?alt=media)

3\. Fill in `WS01` and click "Next"

<div align="left"><img src="https://1033393870-files.gitbook.io/~/files/v0/b/gitbook-x-prod.appspot.com/o/spaces%2FPqGbN7FCY7Xh4OkOtvin%2Fuploads%2Fgit-blob-abe3e3e8b3fdad028d8c3f24ae827b79c6addb39%2Fafbeelding.png?alt=media" alt=""></div>

4\. When asked to restart, click on "Restart Now"

## Joining the domain

1\. Open File Explorer --> right click "This PC" --> Properties

<div align="left"><img src="https://1033393870-files.gitbook.io/~/files/v0/b/gitbook-x-prod.appspot.com/o/spaces%2FPqGbN7FCY7Xh4OkOtvin%2Fuploads%2Fgit-blob-878750701574a515e496fadbe1256faf6785c632%2Fafbeelding.png?alt=media" alt=""></div>

2\. In the top right corner click on "Rename this PC (advanced)"

![](https://1033393870-files.gitbook.io/~/files/v0/b/gitbook-x-prod.appspot.com/o/spaces%2FPqGbN7FCY7Xh4OkOtvin%2Fuploads%2Fgit-blob-054b343eca3133b451476a33e4186d1b9c291ce3%2Fafbeelding.png?alt=media)

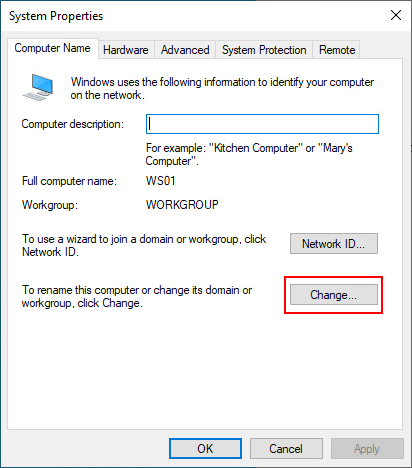
3\. A new window will pop-up called 'System Properties', within this window click on "Change..."

<div align="left"><img src="https://1033393870-files.gitbook.io/~/files/v0/b/gitbook-x-prod.appspot.com/o/spaces%2FPqGbN7FCY7Xh4OkOtvin%2Fuploads%2Fgit-blob-40bb0b14137760d5b40ea2a513b7a2f486ee17f6%2Fafbeelding.png?alt=media" alt=""></div>

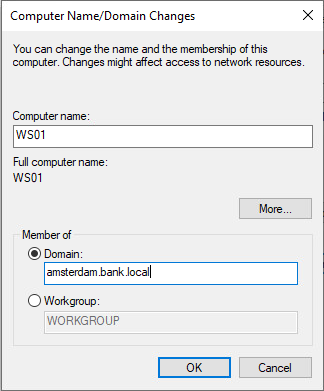
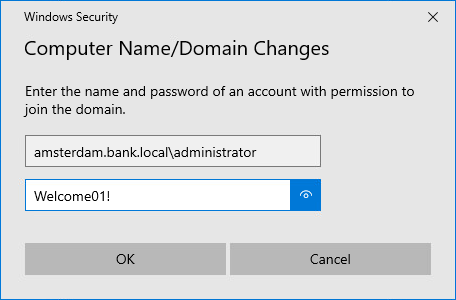
4\. Another window will pop-up called 'Computer Name/Domain Changes', within this window change the 'Domain' to "amsterdam.bank.local" and click on "OK"

<div align="left"><img src="https://1033393870-files.gitbook.io/~/files/v0/b/gitbook-x-prod.appspot.com/o/spaces%2FPqGbN7FCY7Xh4OkOtvin%2Fuploads%2Fgit-blob-cec962dc62a42005e960719a11b24ab9855244db%2Fafbeelding.png?alt=media" alt=""></div>

5\. You will be asked to supply credentials, we will use the `administrator` account from `amsterdam.bank.local` and click on "OK"

<div align="left"><img src="https://1033393870-files.gitbook.io/~/files/v0/b/gitbook-x-prod.appspot.com/o/spaces%2FPqGbN7FCY7Xh4OkOtvin%2Fuploads%2Fgit-blob-2e5d5ff480c5aaa27147e008aa9eb75df51b4521%2Fafbeelding.png?alt=media" alt=""></div>

6\. We're welcomed to the domain, click on "OK". After this message it will asks us to reboot the machine, click on "OK". Close the 'System Properties' window and restart the machine now.

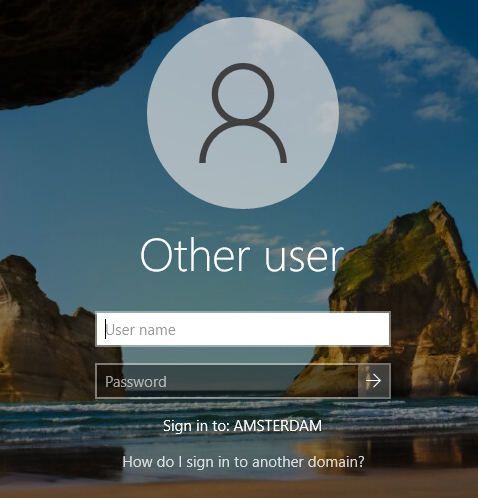
now we're able to login into the `amsterdam.bank.local` domain.

<div align="left"><img src="https://1033393870-files.gitbook.io/~/files/v0/b/gitbook-x-prod.appspot.com/o/spaces%2FPqGbN7FCY7Xh4OkOtvin%2Fuploads%2Fgit-blob-9e15981daf305ce78b25ceb99e175ac3d038d14e%2Fafbeelding.png?alt=media" alt=""></div>

### Removing local admin users

1. Login to the machine with the `Administrator` user from the domain with password `Welcome01`.
2. Execute the following commands to remove the user `user` and `user02`.

```
net user user /del
net user user02 /del
```
